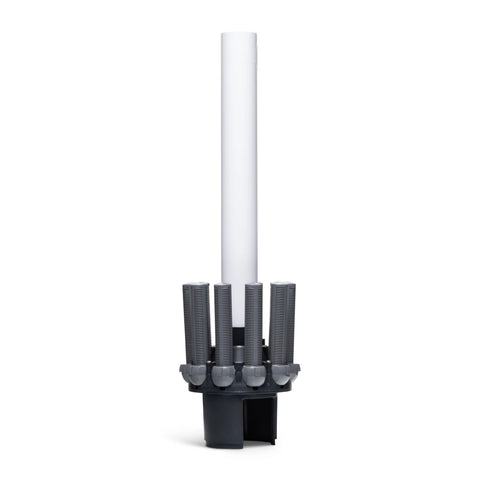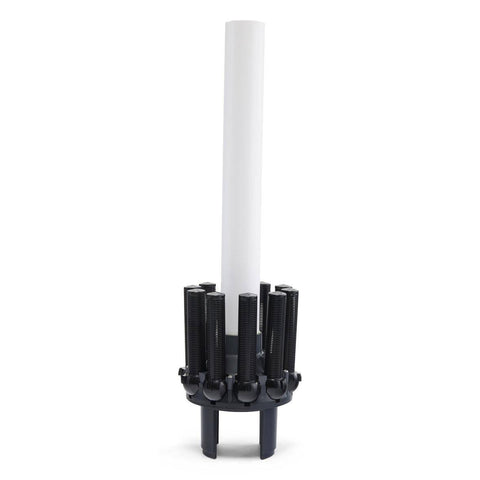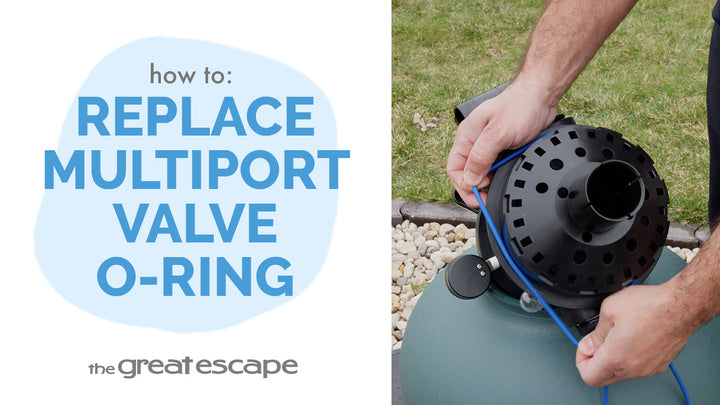
If your filter isn’t performing like it used to, the issue could be buried deep inside—literally. In this tutorial, we’ll show you how to replace the lateral assembly in a Hayward sand filter, a critical step to restoring your filtration system and keeping your pool water clean and clear all season long.
Guide details
Key Takeaways:
1. Lateral assemblies ensure even water flow through your filter sand.
2. Always shut off water flow and power before beginning disassembly.
3. Use a sand shield or cup to protect the center pipe during sand refills.
4. Pre-fill the tank with water to cushion the laterals when adding new sand.
Step-by-Step Process:
1. Turn off the pump and close shutoff valves or use Hayward caps.
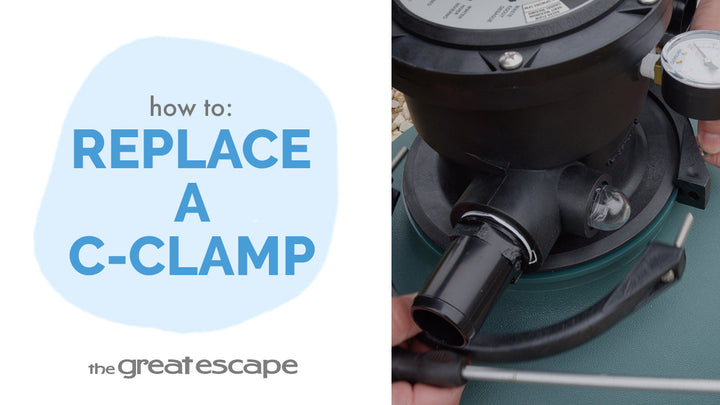
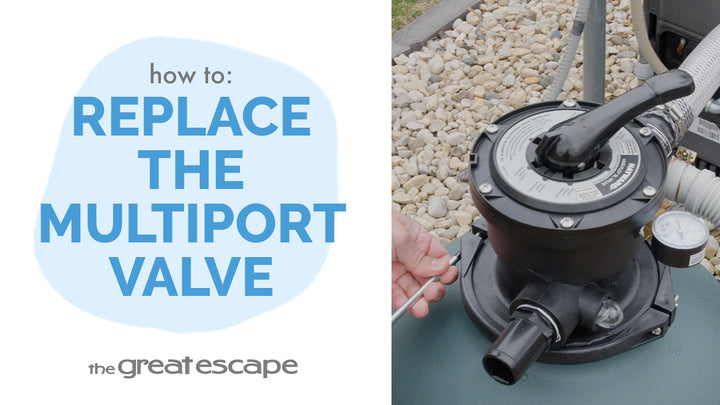
2. Remove the C-clamp and detach the multiport valve.
3. Drain water by removing the tank’s bottom drain cap.
4. Remove old sand using a scoop or shop vac.
5. Lift out the old lateral assembly; install the new one with laterals fully extended.
6. Fill the tank ⅓ with water, then use a sand shield or cup over the center pipe.
7. Slowly pour in new sand until the tank is ¾ full.
8. Reconnect the valve, align and secure the C-clamp.
9. Set the valve to “FILTER” before restarting the system.